
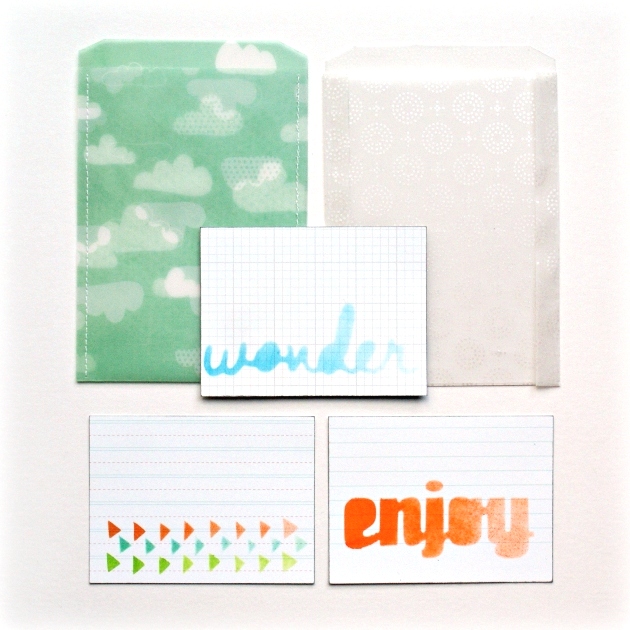
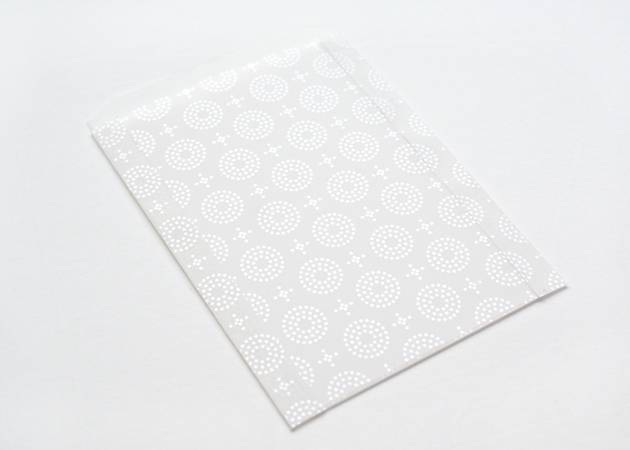
Good day to you! Today I'm going to show you how I made these Vellum Bags and Ombre Journaling Cards for my February Counterfeit Kit:
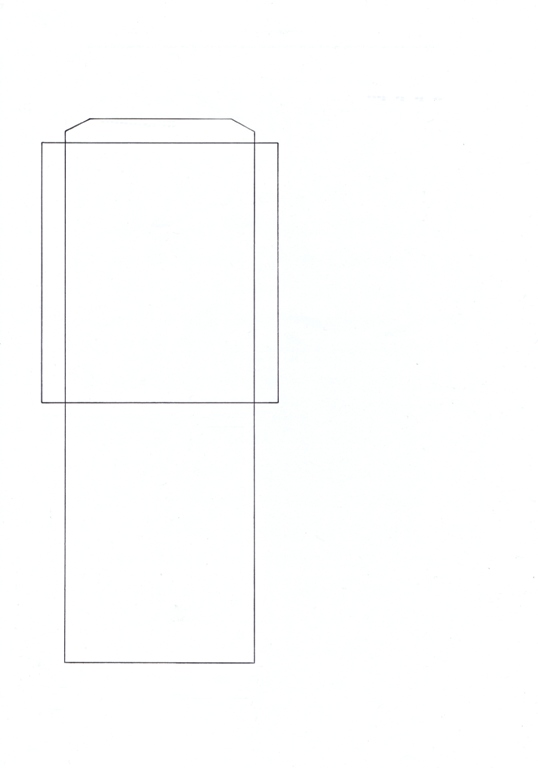
First of all I made myself a template for the bags. You don't need to make one though - you can just download mine from HERE. To get the same size bags as me (mine are a smidge over 4" wide by 6" tall) you'd need to print this on A3 paper, but you are welcome to print it at other sizes, cropping the jpeg if necessary - your bags will just be a bit smaller.
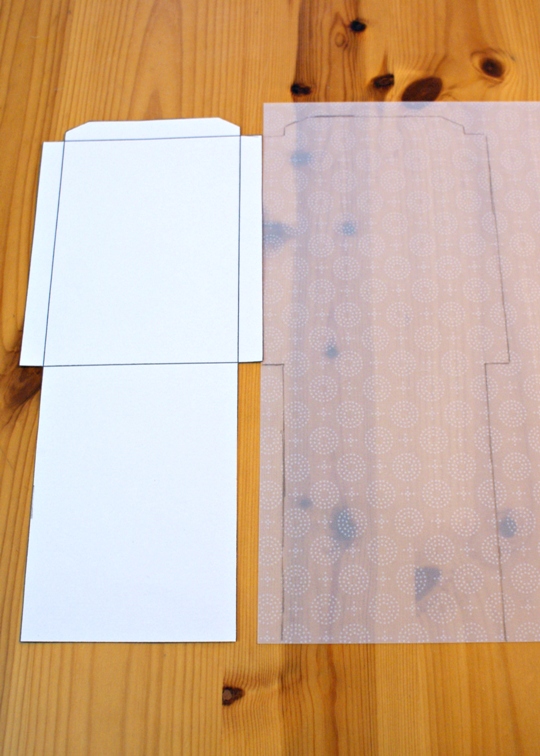
Print the template, cut it out (don't cut the tabs off), and draw around it onto a piece of vellum (this is an old piece of Papermania vellum):
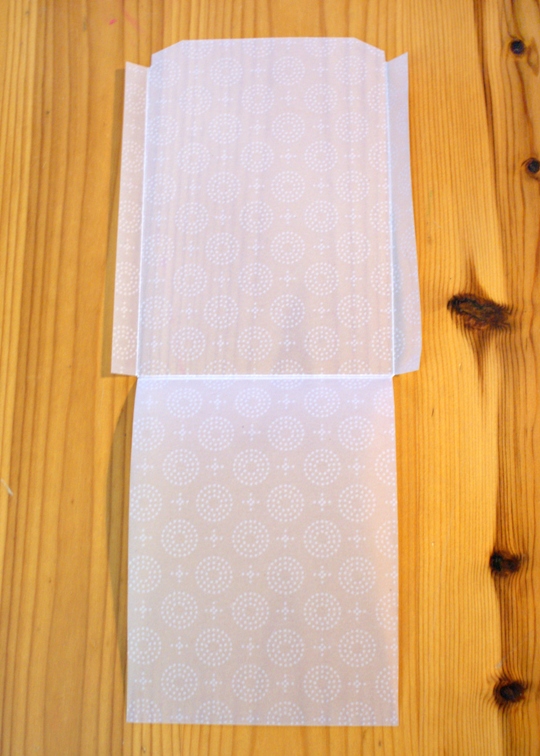
Score and fold in the bottom half of the bag, and the side tabs:
And then stick the tabs down! At first I used vellum tape, but the bag kept opening up, so I used a glue stick instead which seems to be holding it better!
If you don't want to stick the tabs down, you can do this second option. For the cloud bag (vellum is Dear Lizzy Neapolitan 'Silver Lining' I cut off the side tabs and just folded the bottom of the bag upwards:
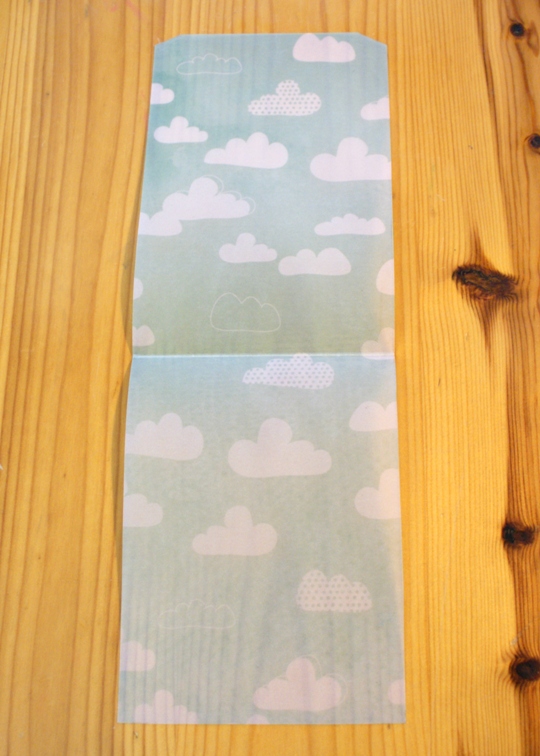
And then machine-stitched up the two sides! Simple as that! It means the space inside the bag is slightly narrower though, so bear that in mind if you make one with stitching:

I can't wait to slip some journaling or ephemera in to these bags!
Now for the Ombre Journaling cards, these are really easy...
Step 1. Cut some words or shapes from scrap card. I used my Slice Design Cutter for the words, and I cut the triangles freehand. You could also use punches. (I backed some of the holes here with colours so you can see them easier in the photo):

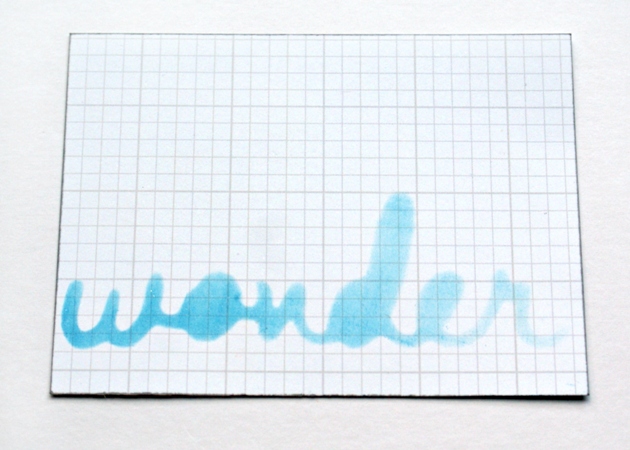
Then place the card with the cut shapes on top of a journaling card - my cards are 3x4", I cut them from some Simple Stories Sn@p 'Just the Basics' papers. Use an ink pad to ink through the holes, putting more pressure and going more times over one end than the other, to create an ombre effect:

Ink the edges of the journaling card too. That's it!
Both these handmade items are quite simple, which I hope means they'll be good for all kinds of projects! Have I inspired you to make some of your own?
Today I'm away from home, I'm off to help my sister choose a Camp to be a counselor at, there's a Camp America recruitment fair in London. Wish her luck! x
16 comments:
thanks for this, will have a play this weekend x
Thanks Jennifer, brilliant ideas - can't wait to have a play! :o)
love the little envelopes!!! they make perfect journaling spot!
Love the envelopes...now I know what to do with the 10 year old velum i have floating around my stash!!!! Hope your sister found a Camp ok?
Two very useful tutorials! I hadn't thought of inking through the negatives - excellent idea!
Those envelopes are very cute! I didn't know there was such a thing as vellum tape. Interesting..
I love those vellum envelopes, too - especially with the stitching :) Making a mental note to dig out some of my neglected vellum!
Love those vellum envelopes!
Alison xx
What a great way to use vellum - absolutely brilliant. Thanks for sharing your template.
your patterned vellum looks gorgeous as envelopes - a brilliant idea x
These are WONDERFUL! The vellum envelopes are my fave - especially the one with the clouds!
ooooh fabulous tutorials!! Love the envelope and the inking is fabby too!!
Good Luck Sis! I was a camp counselor one summer while I was in college. I just adore those little bags and cards. Thanks for sharing the process. The Dear Lizzy cloud paper is a FAVE.
so simple but so perfect. the cloud vellum is so gorgeous I will have to get some for myself! thanks for sharing and the tip with the inking for ombre is so clever!
Ooh, I have some vellum that needs dusting off! x
FANTASTIC ideas here!! I am all giddy to give these vellum pockets a whirl now! Thanks for taking the time to make such a wonderful tutorial for us!
Post a Comment